As an admin accessing Unite through the web, you have control over how you manage your account and account users. In this section you’ll learn how to manage users within your organisation, assign rights to users, and set up approval workflows.
How to manage users within your organisation
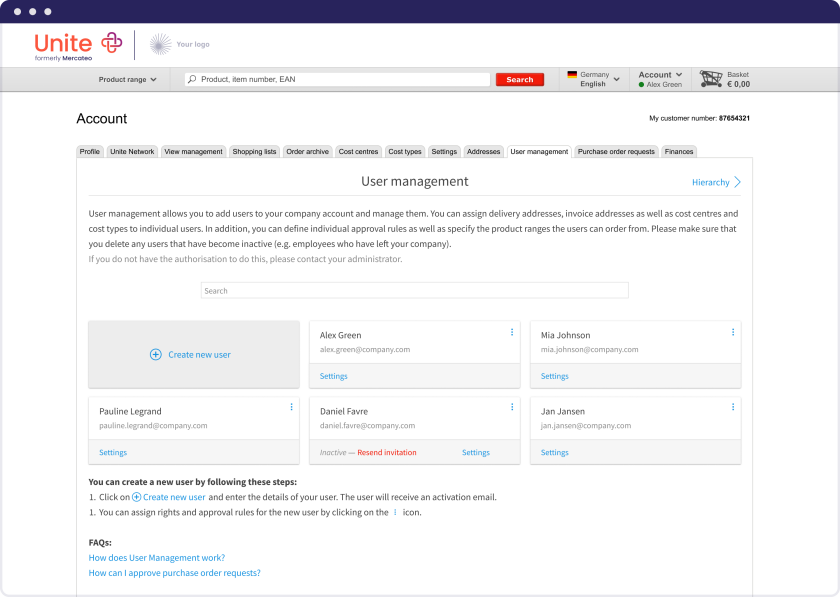
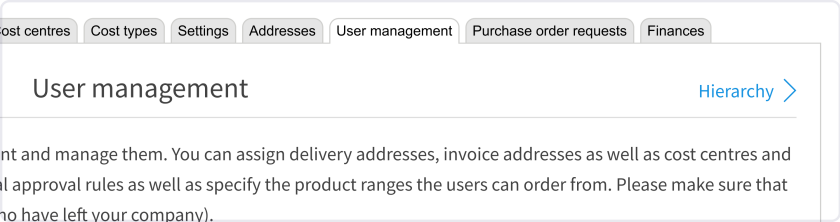
Sign in to your account and go to the tab ‘User management’.
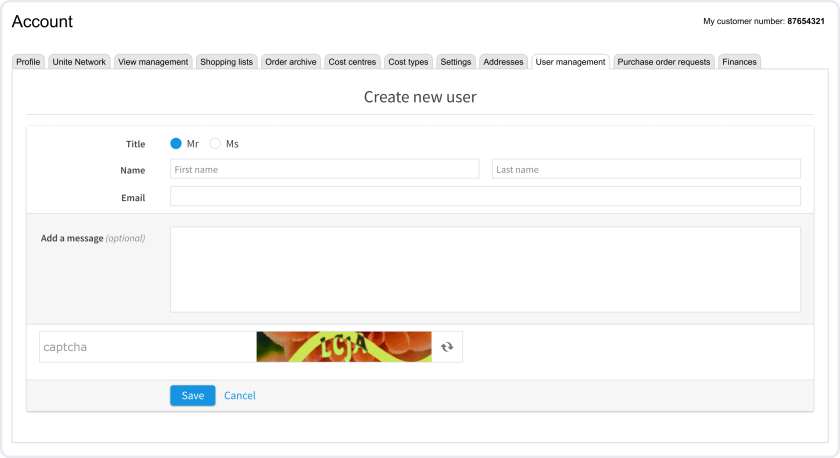
Create a new user
Click on ‘Create new user’ and enter the details on the next page. Click ‘Save’. The user will receive an activation email and will be placed under you in the purchasing hierarchy.
Delete a user
Click on the three blue dots next to the user and select ‘Delete’. Once you’ve confirmed this choice, the user will no longer have access to your company account.
Assign rights to users
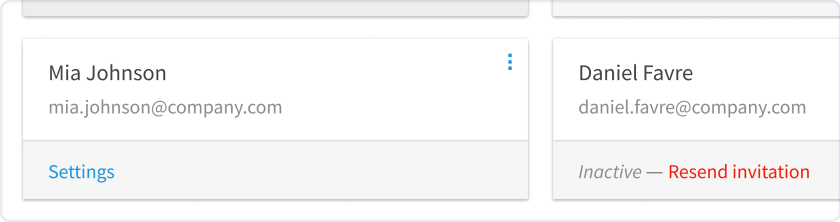
To assign rights to users, click on the three blue dots next to the user and select ‘Settings’. Or simply go to the user and click on ‘Settings’ under their name and details.
From there you can assign rights, such as:
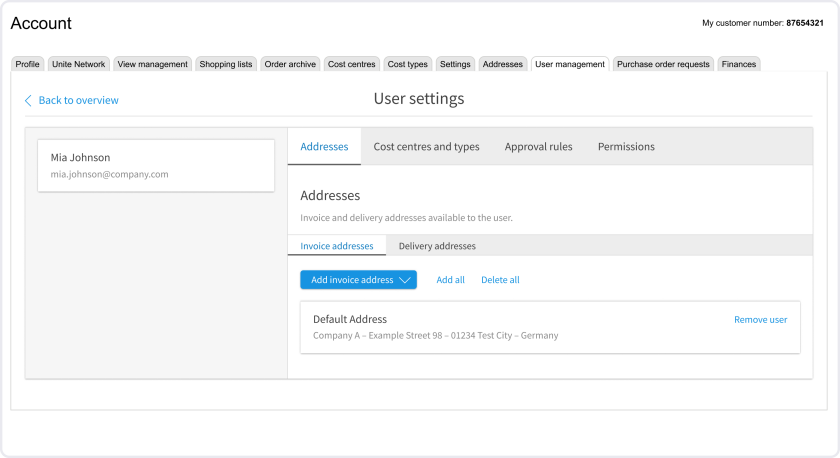
Assign invoice and delivery addresses
Go to ‘Addresses’. Then select the invoice and delivery addresses you want assigned to the user.
Tip: If you want to assign addresses to multiple users, go to the ‘Addresses’ tab in your account and click on the three blue dots next to ‘Addresses’. Select ‘Assign’ and add the users.
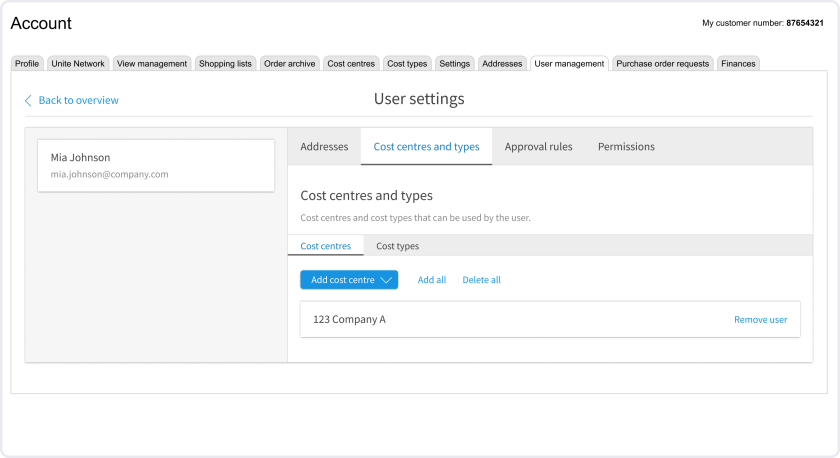
Assign cost centres and cost types
In ‘Account assignment’ you can define which cost centres and cost types the selected employee can use.
Tip: If you want to assign multiple users to a cost centre/type, go to the ‘Cost centres’ or ‘Cost types’ tabs in your account and click on the three blue dots next to the cost centre/type. Select ‘Assign’ and add the users.
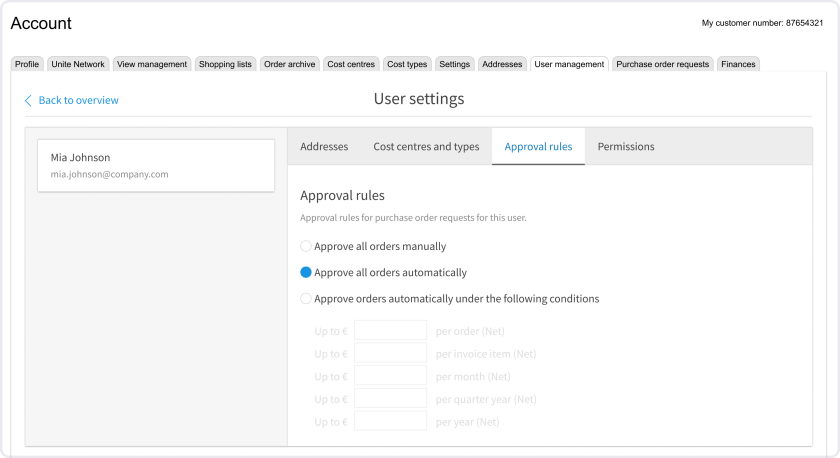
Assign budget and approval conditions
In ‘Approval rules’ you can choose if orders will be approved manually or automatically. You can also choose to approve orders automatically under the following conditions: include an amount up to a certain budget per order, per invoice item, per month, per quarter year or per year.
If you choose manual approval or if your budget is exceeded, the next highest user in your hierarchy receives the order request by email to approve or reject.
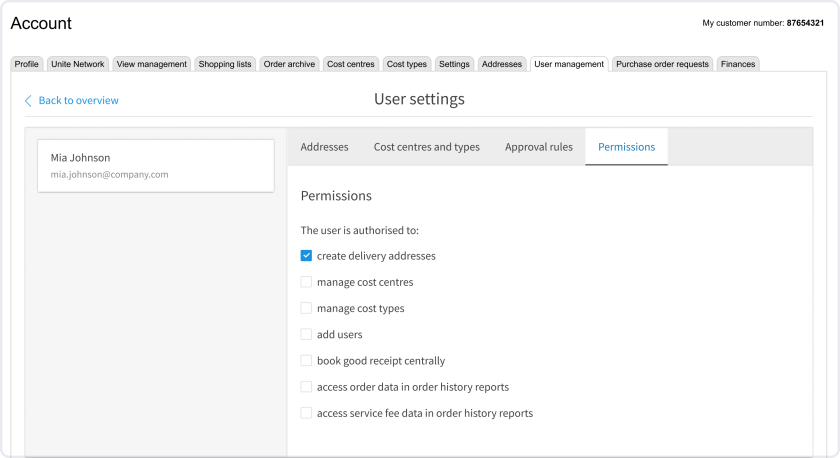
Assign permissions
In ‘Permissions’ you can select additional rights for each user. Here you can authorise a user to create a delivery address, manage cost centres, manage cost types, add users, book goods receipt, access data of all orders in order history reports, and access service fee data in order history reports.
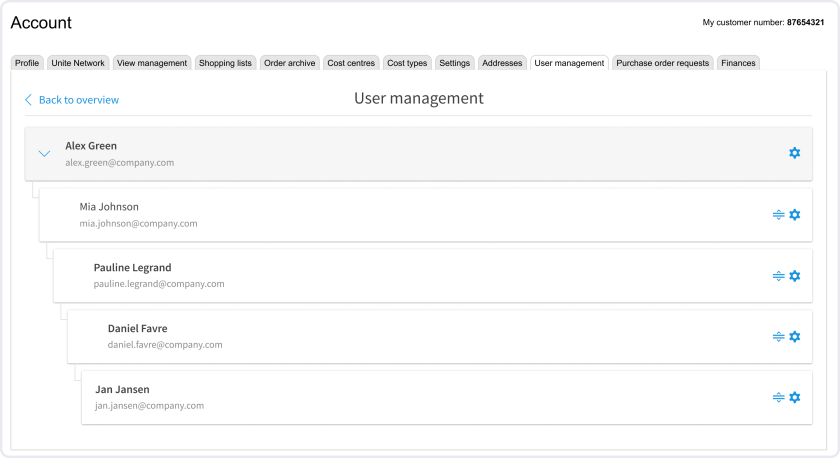
How to manage purchasing hierarchies
Go to ‘User Management’ and click on ‘Hierarchy’ in the top right corner.
Now drag and drop the user to the desired position or click on the user and select a new approver. Users who were placed in the purchasing hierarchy where a user has been deleted are automatically assigned to the next highest user position.
Approve purchase requests: Go to ‘Purchase order requests’ where purchase orders are listed that need your approval. Click on ‘Edit’ to make changes, ‘Reject’ to remove the order, and ‘Approve’ to approve it. You can also add comments below each order when rejecting. The comment will be shown in the order archive in the area ‘Rejected purchase order requests’ and in an email informing your requester.
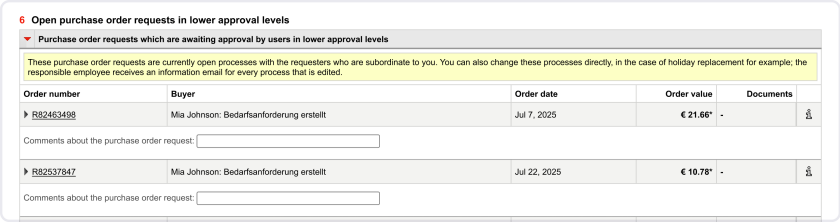
Check approval status in lower approval levels: These purchase order requests are open processes with the requesters who are subordinate to you. You can also change these processes directly, for example in the case of holiday replacement. The requester will receive an email for every process that is edited.
How to set up substitutes in your absence
In case of illness or extended leave, you can add a representative who can approve order requests on your behalf. To learn how to set this up, go to the profile and account management page.